Seamless Execution
What to Expect on Your Project
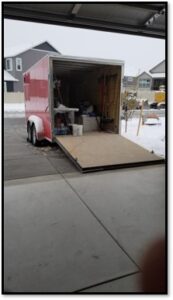
We want our customers to know exactly what happens from the moment our trailer arrives until the final walk-through. A little preparation goes a long way toward a perfect finish.
Pre-Project Checklist
Please ensure the following are ready before our crew arrives on site:
⚡ Site Access
We require access to electricity, lighting, and water. If these are unavailable, please notify us immediately.
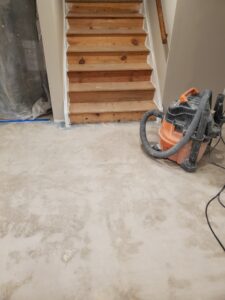
📦 Clear the Space
Please remove all items from the floor and walls. Our machinery needs a clear path to work efficiently.
🛡️ Dust Protection
Our vacuum systems are industrial grade, but if you have sensitive items nearby, please cover them with plastic.
🚫 No Water
Do not pressure wash or wet the floor. We handle all surface cleaning and preparation mechanically.
Pro Tip for Steps:
If we are coating your steps, please fill any deep divots or gaps beforehand if you want a perfectly flat, uniform appearance.
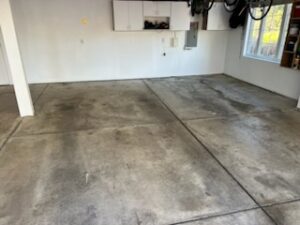
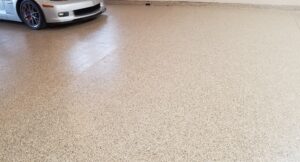
Watch the Transformation
Explore our process gallery below to see how we take a floor from "Before" to "Done."


The Installation Schedule
Our installation is a meticulous, multi-phase process designed for maximum durability. Here is exactly what our crew performs while on-site:
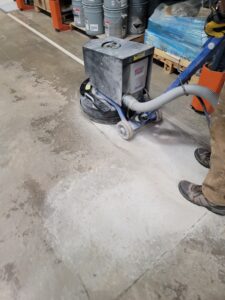
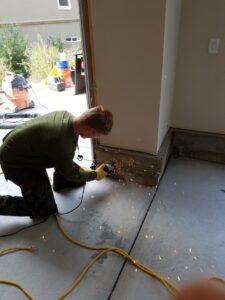
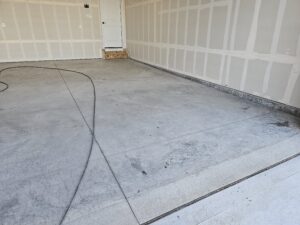
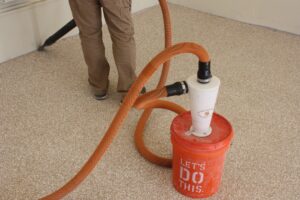
1. Preparation & Repair
- Mechanical Grinding: We diamond bit grind the entire floor surface.
- Crack Repair: We fill and level all visible cracks.
- Expansion Joints: Troweled joints are sanded and caulked (if in estimate). Note: Blade-cut joints are not filled.
- Stem Walls: If included, we cut down framing ridges for a cleaner look.
- Edge Detailing: Perimeter felt is angle-ground, sanded, and caulked.
- Site Cleaning: Full blowout and industrial vacuuming of the project site.
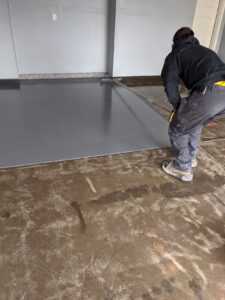
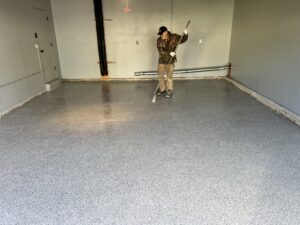
2. The 3-Coat System
- Primer Coat: We apply the initial polyaspartic anchor layer.
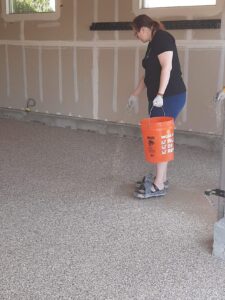
- Pigment & Flake: A second coat is applied with your chosen color, followed by a full broadcast of decorative flake.
- Drying Window: The crew leaves the site for approximately 3 hours to allow the base layers to set.
- Scrape & Vacuum: Upon return, we scrape the flake to remove sharp edges and vacuum the excess.
- Final Top Coat: The UV-stable clear shield is applied to lock everything in.
Final Walk-Through: We will be in contact to schedule a final walk-through with you once the project is fully completed.
Official Return-to-Service
Ensure all 3 layers are fully set by following these specific windows:
6 HOURS
The floor should be tack-free.
12 HOURS
Safe for light foot traffic. (Clean shoes only to avoid debris!)
24 HOURS
Safe to re-engage garage door to the opener.
48 HOURS
Safe for vehicle traffic. (Add 24hrs for freezing weather).